For homeowners considering professional installation for the first time, knowing what to expect from the process removes uncertainty and makes the experience far smoother. Professional fitters follow a structured sequence that ensures both safety and precision—something that a rushed DIY approach often skips entirely. This guide walks through exactly how qualified installers approach loft ladders fitting from start to finish.
What Happens Before the Installation Begins?
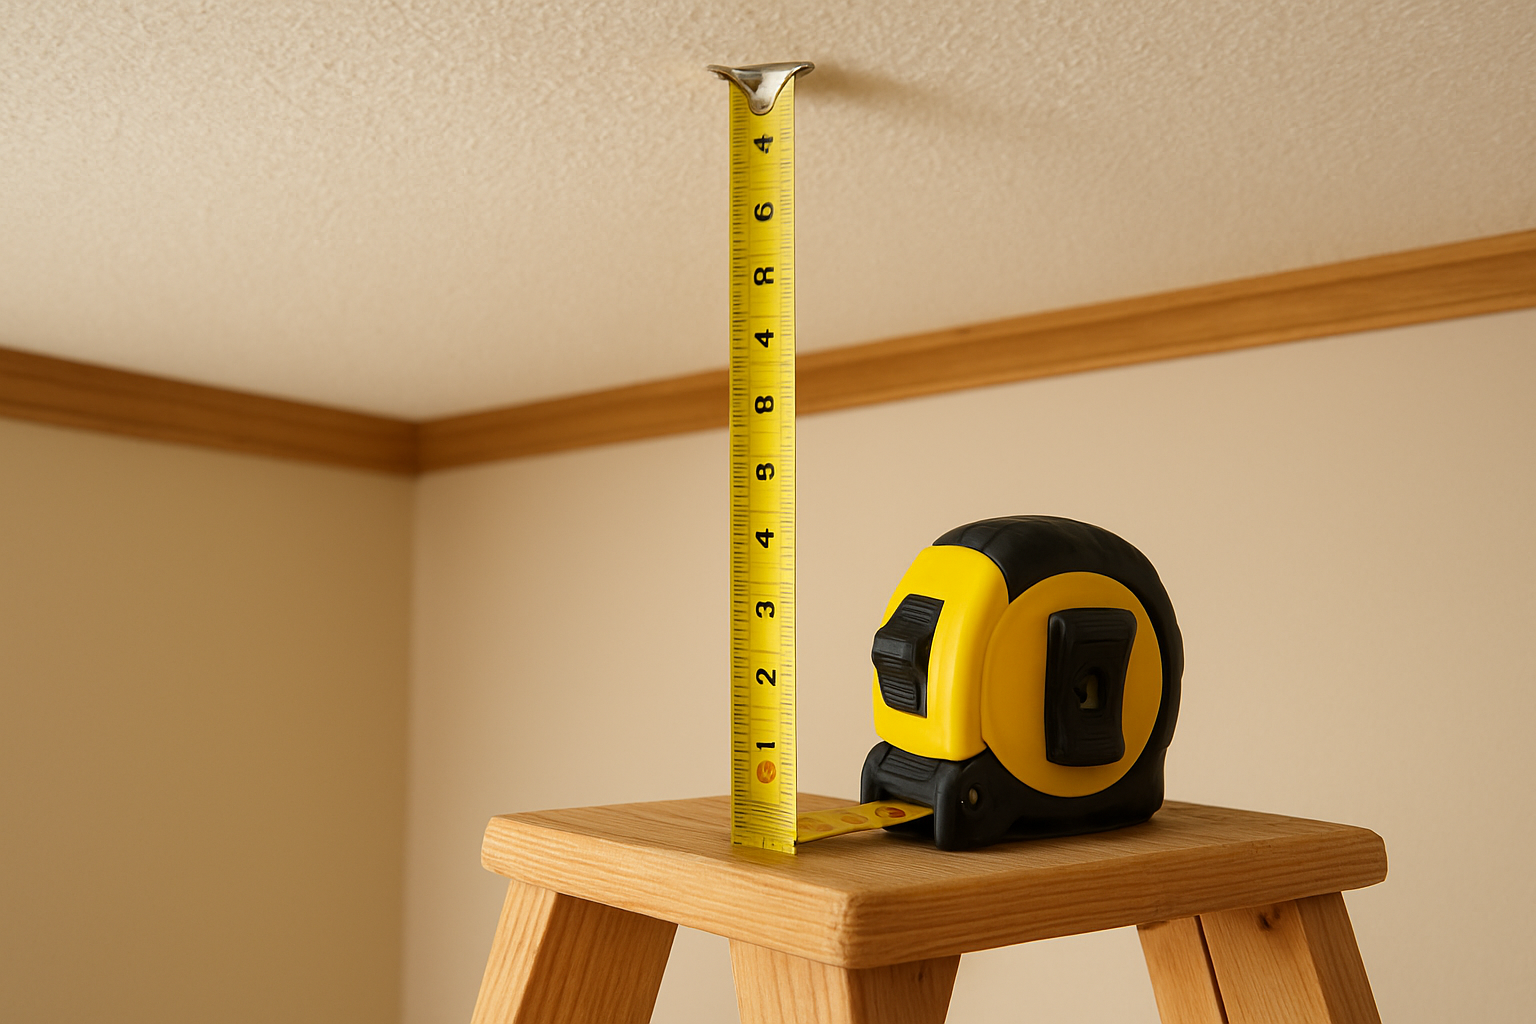
Before any work starts, a professional installer will assess the installation area. This includes measuring the floor-to-ceiling height, checking the existing hatch size and frame condition, and inspecting the surrounding joists for structural integrity.
If the hatch needs to be enlarged—a common requirement when upgrading from a small access point to a full-sized ladder—this assessment determines whether joist trimming or reinforcement is necessary.
Product Selection
Based on the assessment, the installer will confirm the most suitable ladder type and dimensions. This conversation should include discussion of load requirements, frequency of use, and any mobility considerations for household members.
What Does the Installation Process Look Like?
Stage 1: Hatch Preparation
If the existing hatch is correctly sized, the old frame is removed and the opening is cleaned up. If enlargement is needed, the joist work is completed first, with new trimmers fitted to maintain structural support.
Stage 2: Frame Fitting
The new hatch frame is secured to the ceiling opening using appropriate fixings. A spirit level ensures the frame sits perfectly square—critical for smooth ladder operation over its lifetime.
Stage 3: Ladder Attachment
The ladder mechanism is attached to the hatch frame according to the manufacturer’s specification. Hinges, locking arms, and any spring-assist mechanisms are fitted and tested for correct operation.
Stage 4: Hatch Cover Fitting
The insulated or standard hatch cover is fixed and adjusted to ensure a flush, draught-free seal when closed. On insulated models, the seal integrity is checked to confirm thermal performance.
Stage 5: Final Testing
The installer deploys and retracts the ladder multiple times, checking for smooth operation, secure locking, and even weight distribution. Handrails—if included—are fitted and tested for stability.
What Are the Most Common Questions About the Installation Process?
How long does a standard professional installation take?
Most standard installations are completed within two to four hours. Projects involving hatch enlargement or structural work may require a full day.
Do I need to be home during the installation?
Yes. The installer will need access to both the room below and the loft space, and you’ll need to sign off on the completed work.
What should I do to prepare for the installer’s arrival?
Clear the area directly beneath the hatch and remove stored items from the loft above the opening. Ensure the installer has clear access to the work area.
Will the installation create significant dust or mess?
Cutting through drywall or timber joists does generate dust. A professional installer will take precautions, but covering nearby furniture is recommended.
How do I know the installation has been done correctly?
A correctly installed ladder operates without resistance, locks securely in both the open and closed position, sits level when deployed, and shows no movement when loaded with weight.
What happens if a problem is discovered mid-installation?
If unexpected structural issues are uncovered—such as damaged joists or incorrect load-bearing configurations—a professional installer will pause work and discuss the implications with you before proceeding.
Is there a handover process at the end of installation?
Yes. A thorough installer will walk you through correct operation of the ladder, explain any maintenance requirements, and provide documentation of the work completed.
Professional Precision From First Fix to Final Sign-Off
Every stage of a professional loft ladder installation is designed to protect both the structure of your home and the safety of everyone who uses it. The process is methodical for a reason—and understanding each stage helps you hold your installer to the standard the job demands.